How to Make a Jedi Robe
How to make a robe with a trace of the dress - Last Halloween we made 4 Jedi robes to go with some Star Wars masks we bought. These are the instructions to make the robes. We wanted to make the robes with as few pieces of fabric and as little sewing as possible. I had never made anything resembling clothing before so patterns from the store were out of the question (too complicated). When you make your robe, think of it as a Mexican poncho that goes over your head, rests on your shoulders and happens to be sewn up the sides to make sleeves.
The Jedi Robe
 |
| How to Make a Jedi Robe |
Buy some extra wide brown polyester fabric. 72" wide (or however wide your arms are stretched out). You will need a lot. Buy a whole bolt of it. Go to Wal-Mart. I got my fabric there from a bargain bin for $2/yard. If you can't find fabric wide enough, you will have to add extensions to the sleeves.
Figure out how tall you are at the shoulder. Double that number and cut that much fabric off of the bolt. If you are 5 feet tall (60") at the shoulder, cut 10 feet (120") off of the bolt.
Spread the fabric out on the floor folding it over on itself width-wise.
Lay down on the fabric with your arms stretched out and your shoulders at the fold in the fabric. Have someone trace around you. Don't trace too close to the body or else the robe will not flow right.
Pin the two layers of fabric together along the trace line.
Cut the traced shape out of the fabric about an inch outside of the trace line.
Sew along the trace lines.
Turn the robe inside out.
Make the front opening of the robe by cutting a line straight up the middle of the front of the robe to the shoulder fold. Make sure you only cut up the front of the robe.
Try the robe on to make sure the measurements are OK.
Hem the edges along the bottom of the robe, the ends of the sleeves, and the edges of the front opening. If you don't hem these edges, your robe will look really cheap and you will end up with a lot of little threads all over the house.
The Jedi Robe Hood
jedi robe hood pattern diagramThis part was a little tricky to figure out. It took a few paper mock-ups to figure out how to make a hood shape. In the end, it was simple: one rectangular piece of fabric, folded in half, with one side stitched up.
Cut a 1 foot by 2 foot rectangle of fabric. (Some readers have mentioned that this size hood seems too small. For a larger hood use a 16" by 32" or larger piece of fabric.)
Fold it in half to make a 1 foot square piece of fabric. (16" square if you used a bigger piece of fabric.)
Sew one edge from the fold to the end.
Turn the hood inside out.
Attach the Hood to the Robe
Prepare the robe by cutting a 6 inch circular neck hole out of the robe centered around the top of the front slit. Discard the circular piece of fabric. The hood will be sewn to the circular hole you just cut.
Align the seam you stitched up the back of the hood to the center of the back on the neck hole.
Sew the two ends of the hood rectangle to the left and right sides of the neck hole. Depending on how big you made the neck hole, the edge of the hood may be too big for the neck hole. If this happens, just put a couple of pleats in when you attach the hood.
Hem the front edge of the hood.
The hood will look WAY too big, but that is how the Jedi robe hoods are.
The Inner Tunic
One thing that is characteristic of the Jedi wardrobe is the presence of a v-neck. This tunic will provide the appearance of a Jedi v-neck.
Jedi Tunic fabric. Sew the fold in the tunic in place to give the appearance of more layers. How the Jedi tunic should look on youStart off with 3 pieces of tan fabric from a 60" bolt. They will make up the right and left side of the Jedi tunic and a belt to hold the tunic to your body.
You will have two pieces that go over each shoulder and cross at the waist in the front and the back.
Iron a small fold near the inner edge of each piece to give the appearance of multiple layers. I sewed my fold in place to make sure it stayed.
Put the two pieces of the tunic on and have someone position and pin them together when you get the desired "V" shape. Repeat for the back.
Sew the two pieces together at the waist so they don't come apart when you are wearing the tunic.
Put on the belt and place it over the stitch you made to hold the two pieces of the tunic together. Tie it in the back so you have sort of a cummerbund in the front.
Notes
the bottom of the jedi robe is bell shapedWe found that the bottom of the robe was too long at the sides (because shoulders slope down from the neck). Before we hemmed the bottom, we trimmed it making it curve up at the sides so the body of the robe was more bell shaped.
If you are making more than one robe, use the first robe as a pattern and just trace it on the fabric for the second, third, fourth... robes.
Unless you are entering a fashion show, don't worry about the robe being perfect. We were going to a big outdoor Halloween festival at night so we just wanted the suggestion of a Jedi robe. We had normal clothes on underneath.
Use a safety pin under your chin to fasten the robe shut. (If you didn't hem the edges, the safety pin will unravel the robe.)
Make sure you have a light saber to go with your robe. Otherwise you will look like a monk.
Some fans have said that they found this page after searching for Luke Skywalker, Jedi, Star Wars Costume, Jedi Costume Pattern and even an R2D2 costume for a toddler.
A fan wrote in to say that he used a heavy, flat bedsheet (king size) instead of extra wide fabric. Great idea!
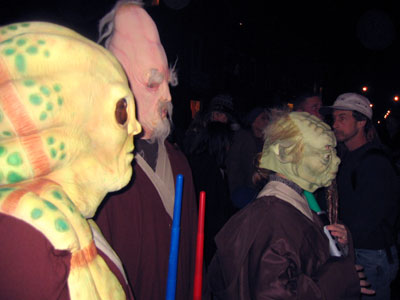
Here we are in our Jedi robes. Yoda's Jedi robe looks shiny in pictures but not in person. It was a lighter nylon fabric we used for a test jedi robe.
Here we are in our Jedi robes. Yoda's Jedi robe looks shiny in pictures but not in person. It was a lighter nylon fabric we used for a test jedi robe.
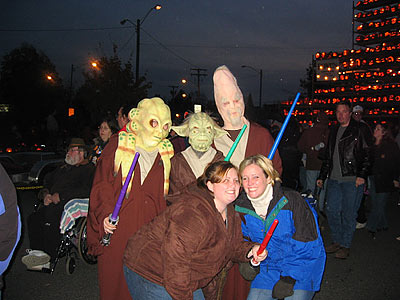
A lot of people wanted to get their pictures taken with us.

Posing in front of a tower of jack-o-lanterns
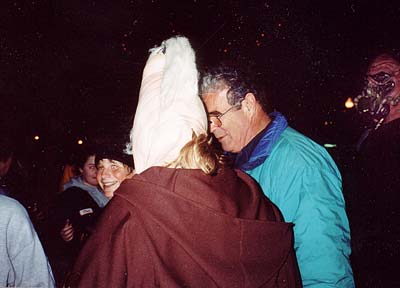
Here is a good shot of the hood. We accidentally sewed this hood on upside down so the seam ended up on the top instead of the back of the hood. Also you can see how everyone loved our costumes.
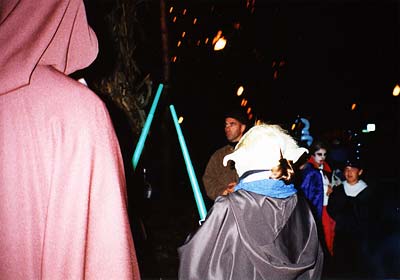
Another picture of the hood, up this time. It was lucky the hoods are so big -- they wouldn't have fit over our masks otherwise.
With the information we provide about How to make a robe with a trace of the dress
, We hope you can be helped and hopefully set a precedent with you . Or also you can
see our other references are also others which are not less good about Flowers made from plastic bags by Helixthecat
, So and we thank you for visiting.
open tutorial sew : http://www.degraeve.com/jedirobe/


0 komentar:
Post a Comment